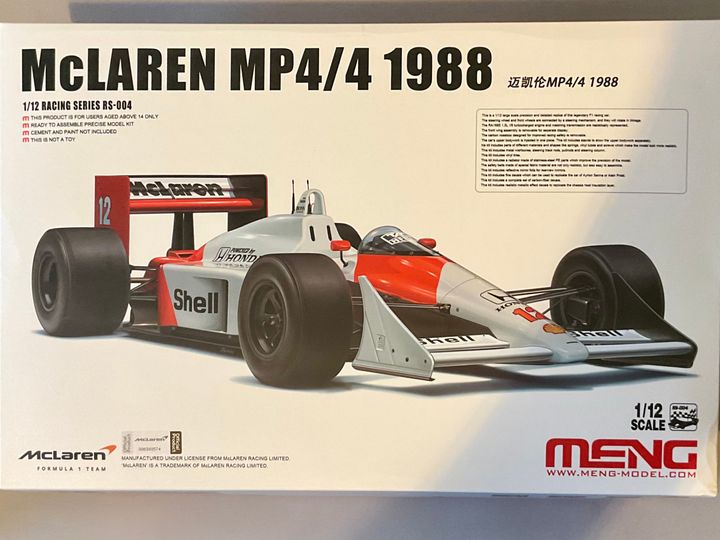
1/12 scale Meng McLaren MP4/4
Discussion


After enjoying building the 1/12 Meng GT40 MK2 i fancied the newish tooling of the legendary MP4/4.
I had enough points with Jadlam to get £25 off, so an order was placed.
The kit arrived a couple of days later. I was surprised as I didn’t spring for the premium postage options and just went with the free option.
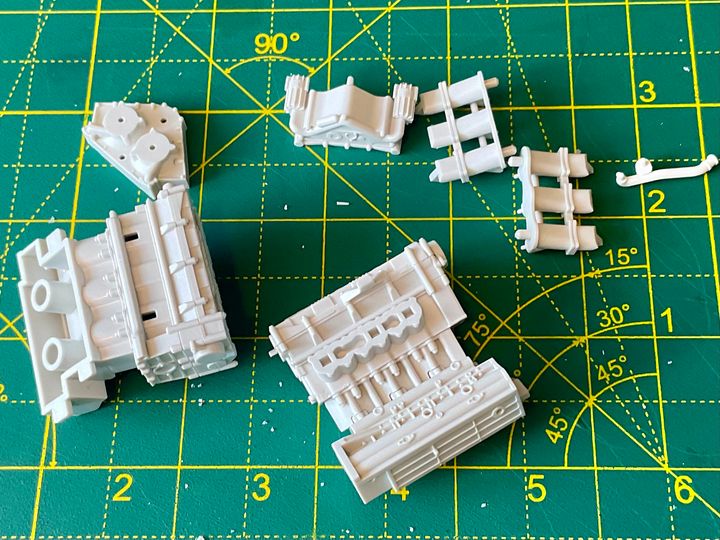
Assembly starts with the Honda's RA168E 1.5-litre V6-turbo. Lots of parts most of which end up black. The kit calls for gloss black, but reference photos and the absolutely excellent Jay Emm deep dive video on YouTube suggest semi gloss black is the way to go. Tamiya semi gloss is a little too gloss, so I mixed in a little flat black too.
Here’s a montage of the engine build.
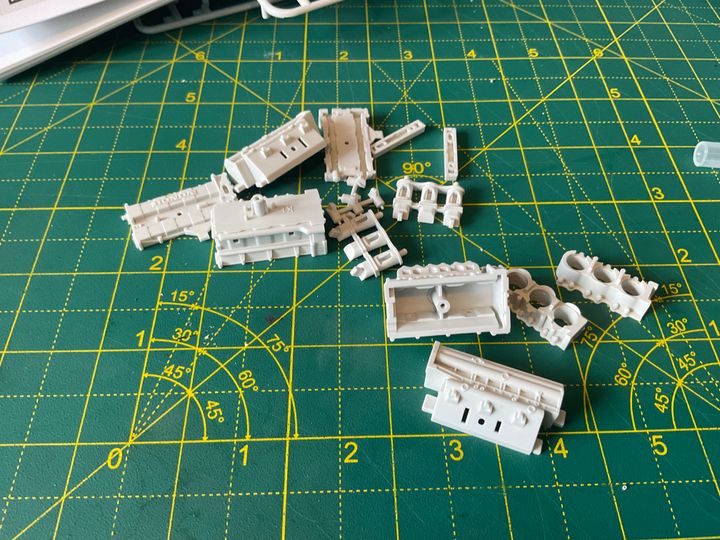
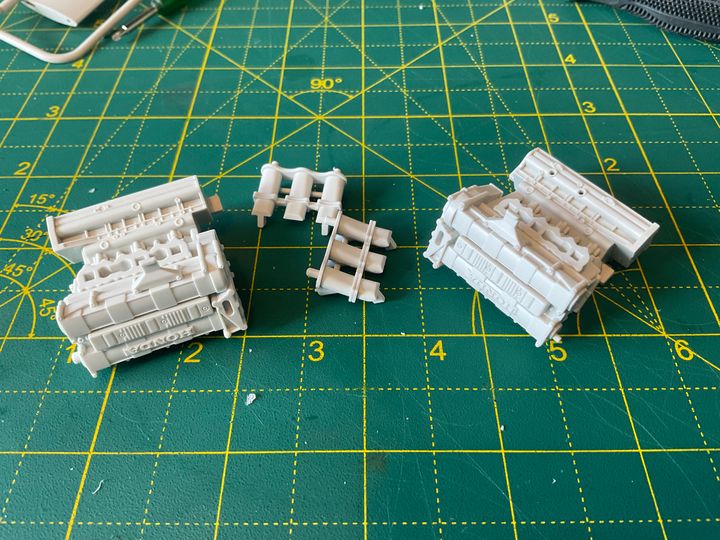
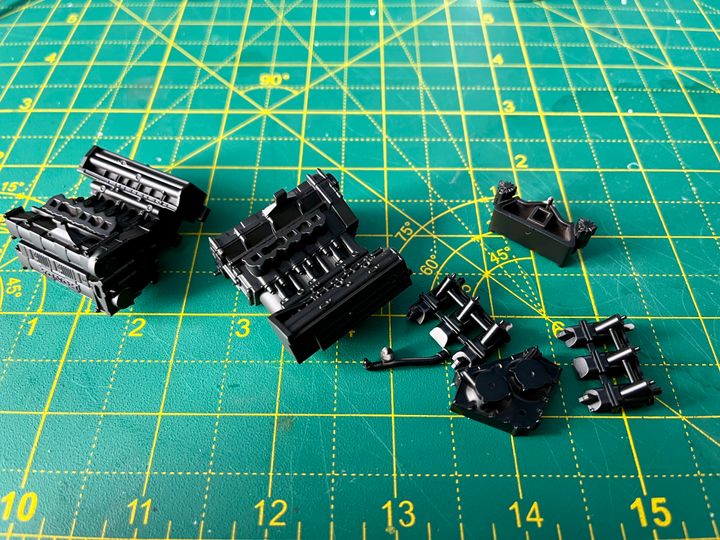
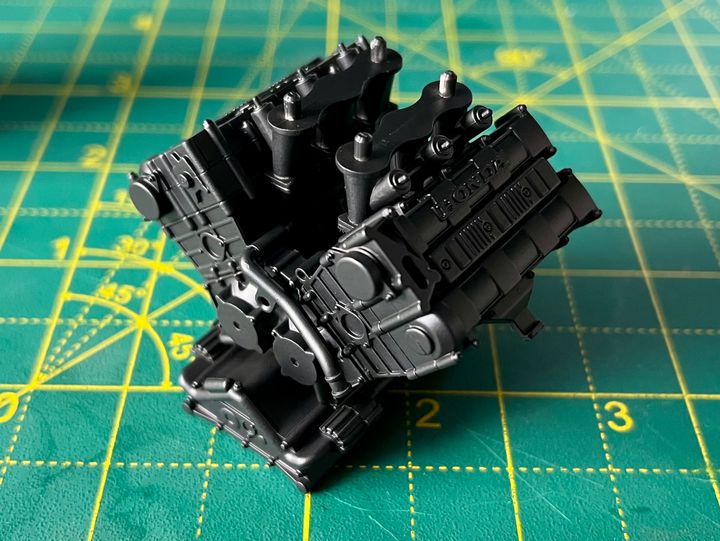
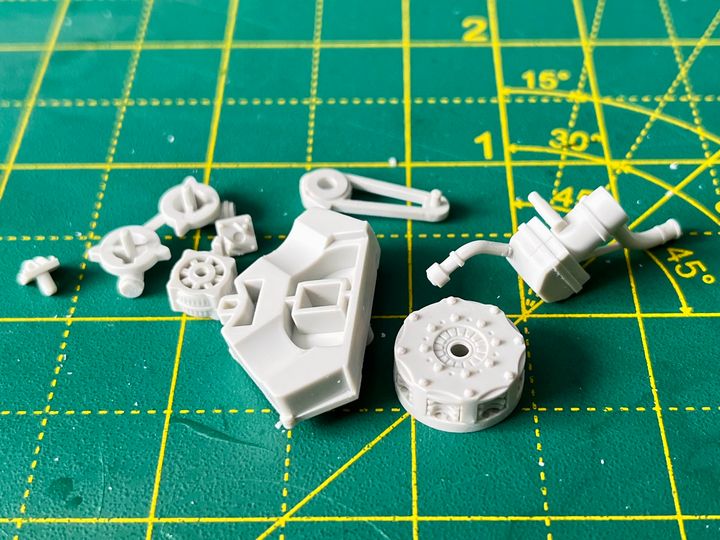
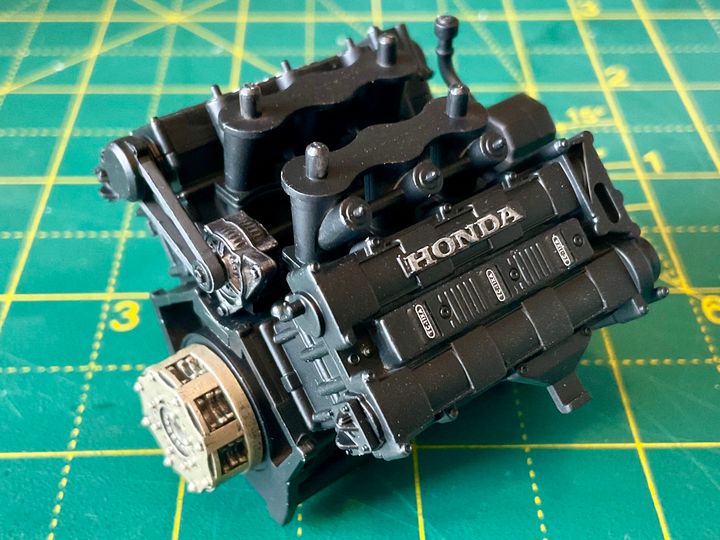
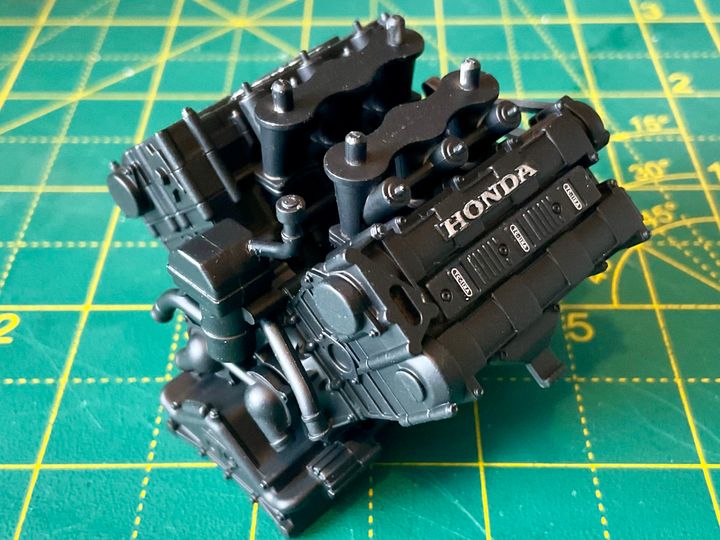
decals for the Honda logo are included In the kit, but I chose to hand paint them as the thought the decal would be a faff to fit properly as the letters are quite pronounced.
I had enough points with Jadlam to get £25 off, so an order was placed.
The kit arrived a couple of days later. I was surprised as I didn’t spring for the premium postage options and just went with the free option.
Assembly starts with the Honda's RA168E 1.5-litre V6-turbo. Lots of parts most of which end up black. The kit calls for gloss black, but reference photos and the absolutely excellent Jay Emm deep dive video on YouTube suggest semi gloss black is the way to go. Tamiya semi gloss is a little too gloss, so I mixed in a little flat black too.
Here’s a montage of the engine build.
decals for the Honda logo are included In the kit, but I chose to hand paint them as the thought the decal would be a faff to fit properly as the letters are quite pronounced.
Turn7 said:
in for updates....
Expect a few.It’s a lovely kit, much better than the GT40. It’s polystyrene fora start so you can actually use cement to properly put the thing together. Molding is spot on too.
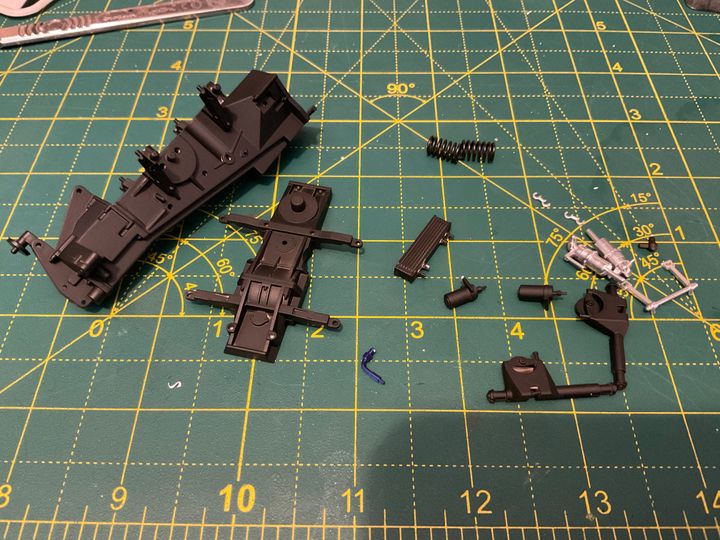
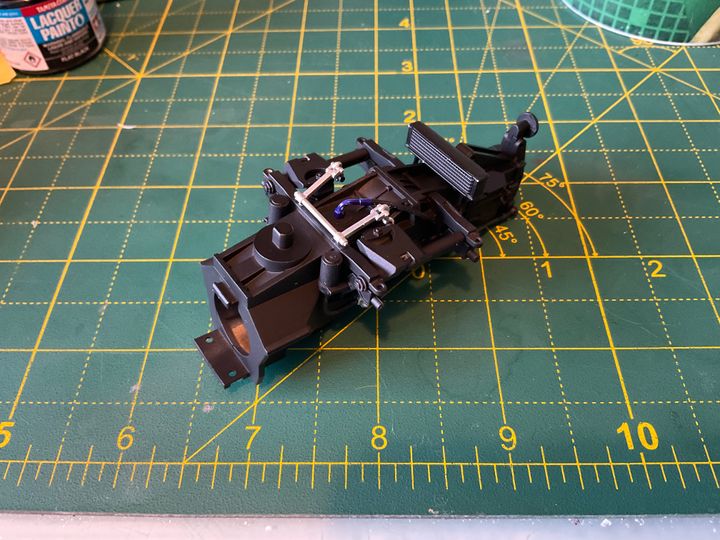
I’ve already made a start on the gearbox and rear suspension.
Going to take it apart for painting next.
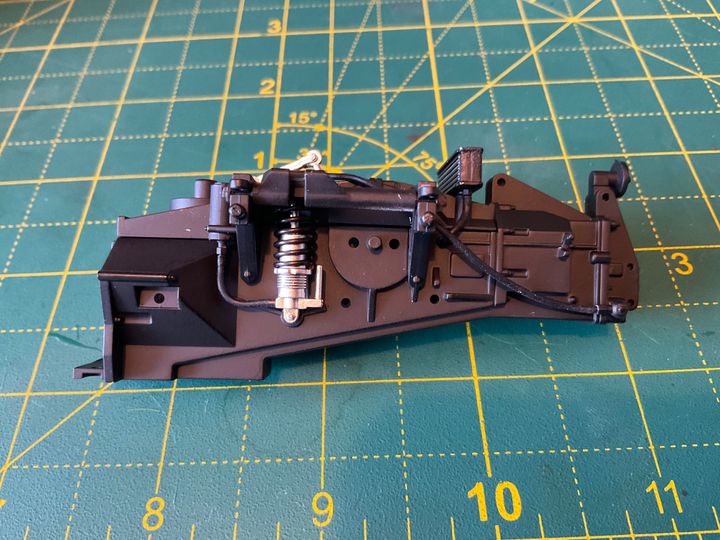
I finished the transmission this morning. Unfortunately I have now run out of paint.
I called hannants and they no longer stock Tamiya Lacquer paints as the stock is always running low with the supplier. They do stock mr hobby though, but don’t have flat black (thankfully I didn’t drive down there).
SC models is shut until Tuesday, so the project is on hold.
I called hannants and they no longer stock Tamiya Lacquer paints as the stock is always running low with the supplier. They do stock mr hobby though, but don’t have flat black (thankfully I didn’t drive down there).
SC models is shut until Tuesday, so the project is on hold.
blackmme said:
Absolutely fantastic work, I wish I had your level of skill!
I’m sure you must already have it but if not the Haynes Enthusiast Manual for the MP4/4 is absolutely superb, in fact the very best of that entire series from Haynes (I have 50 or so of them).
It goes into pretty obsessive detail and given the level you are working at the information on individual chassis and race configurations might well be valuable.
Keep up the brilliant work!
LOL. To be honest I think more or less anyone could make a decent go of this kit. Thus far there has been nothing tricky. I think its just of case of taking your time and it will be fine. I’m sure you must already have it but if not the Haynes Enthusiast Manual for the MP4/4 is absolutely superb, in fact the very best of that entire series from Haynes (I have 50 or so of them).
It goes into pretty obsessive detail and given the level you are working at the information on individual chassis and race configurations might well be valuable.
Keep up the brilliant work!
I don't have a copy of the Haynes manual, but have watched through the Jay Emm video and taken quite a few screenshots. If you haven't seen it you really must. Its basically the four guys that designed and built the car going through the thing in micro detail. They even talk about repairs to the monocoque, why it happened and how they fixed it. Its 2 1/2 hours long....
Its a good thing i watched it too as some of the colour call outs are a bit off. The hubs for example are called out to be stainless steel, but they are actually anodised aluminium.
blackmme said:
robemcdonald said:
LOL. To be honest I think more or less anyone could make a decent go of this kit. Thus far there has been nothing tricky. I think its just of case of taking your time and it will be fine.
I don't have a copy of the Haynes manual, but have watched through the Jay Emm video and taken quite a few screenshots. If you haven't seen it you really must. Its basically the four guys that designed and built the car going through the thing in micro detail. They even talk about repairs to the monocoque, why it happened and how they fixed it. Its 2 1/2 hours long....
Its a good thing i watched it too as some of the colour call outs are a bit off. The hubs for example are called out to be stainless steel, but they are actually anodised aluminium.
Yep I've watched the video and it is absolutely terrific. I don't have a copy of the Haynes manual, but have watched through the Jay Emm video and taken quite a few screenshots. If you haven't seen it you really must. Its basically the four guys that designed and built the car going through the thing in micro detail. They even talk about repairs to the monocoque, why it happened and how they fixed it. Its 2 1/2 hours long....
Its a good thing i watched it too as some of the colour call outs are a bit off. The hubs for example are called out to be stainless steel, but they are actually anodised aluminium.
The book is highly, highly recommended though as it contains details of the improvements to the chassis manufacturing process between the early and later tubs that quite significantly changed the external texture / appearance of the tub beneath the bodywork.
I've just check though and it seems that despite only being 5 or so years old the book isn't available anymore and people are asking for between £200 and £500 pounds for copies!
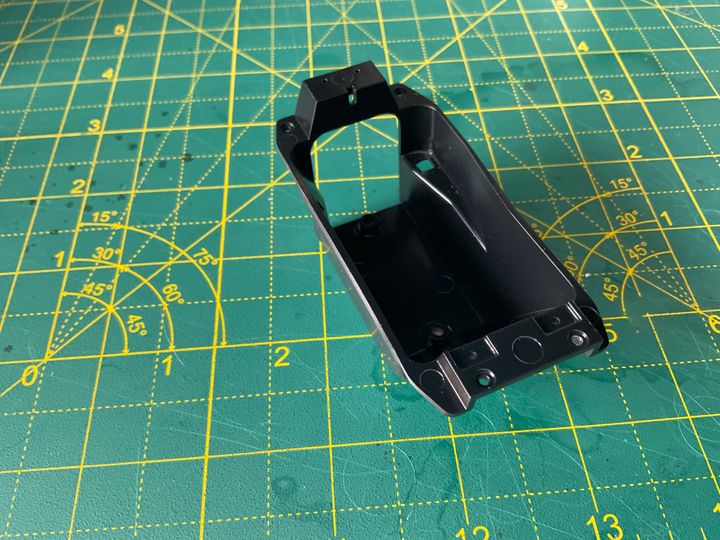
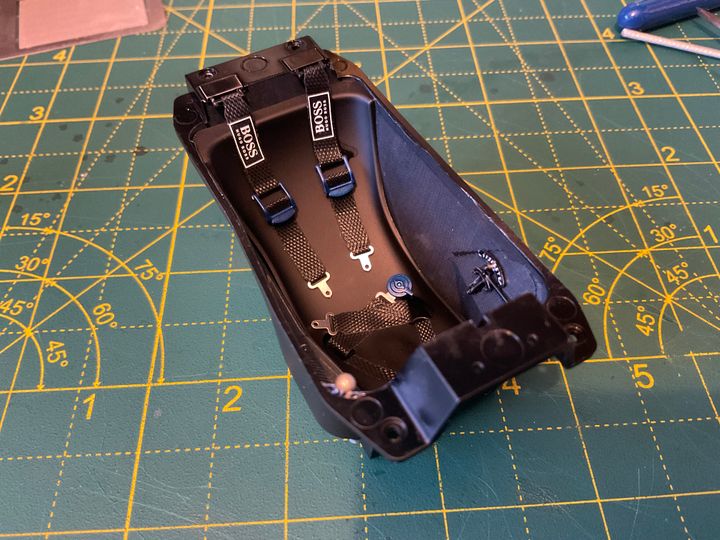
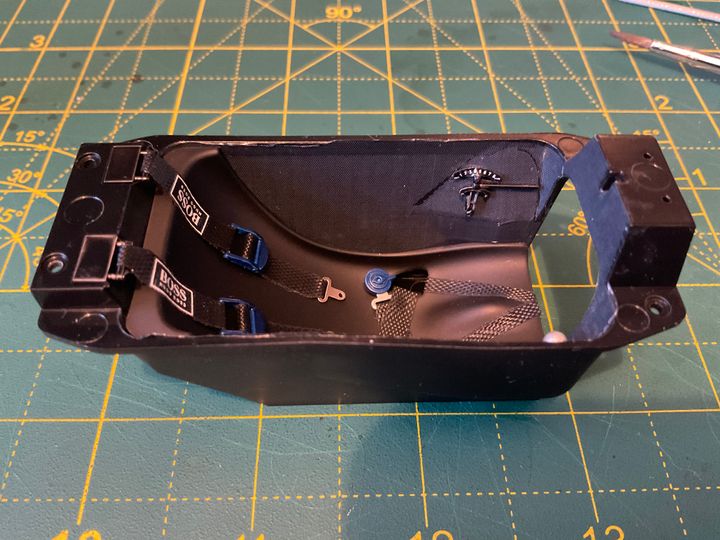
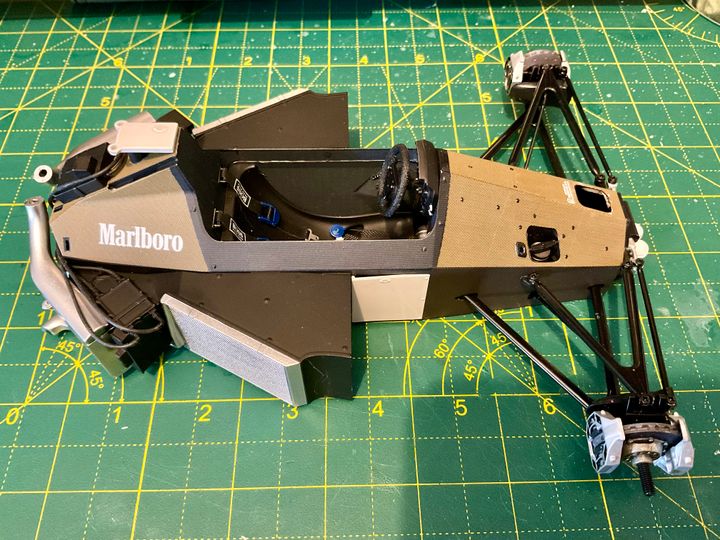
The instructions now move on to the cockpit.
The kit provides carbon fibre decals for everything.
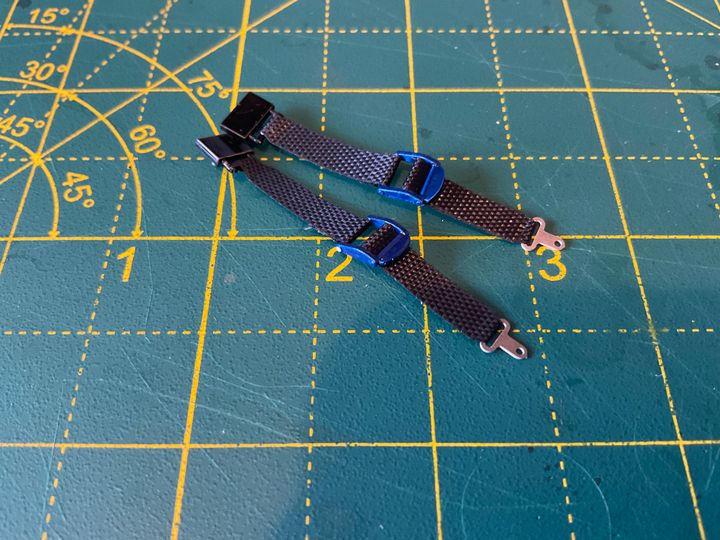
The next stages require plastic parts, photo etch and material harnesses.
All the carbon decals for the inside the cockpit.
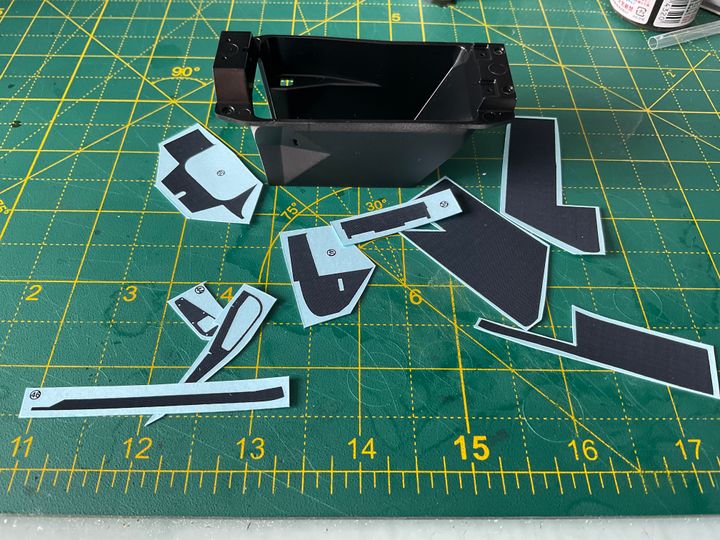
First one on.
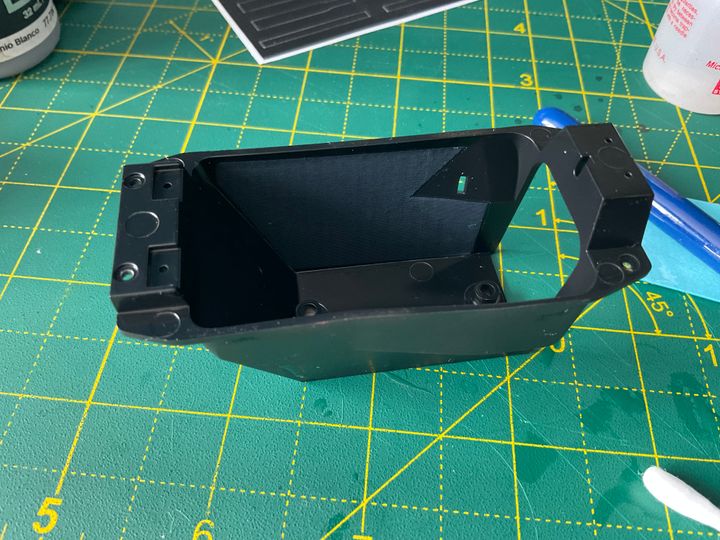
Just a case of repeating for the rest of the decals.
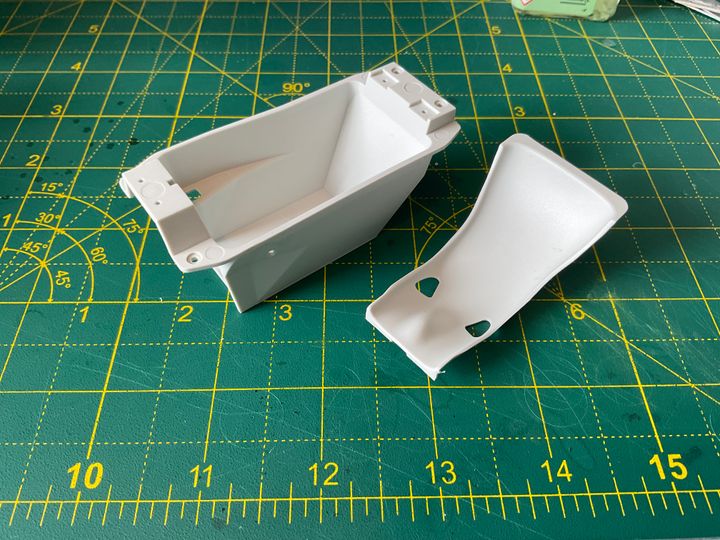
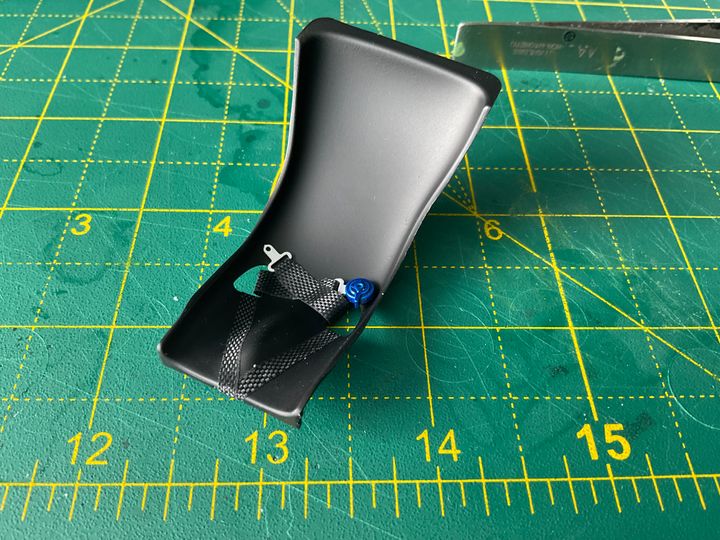
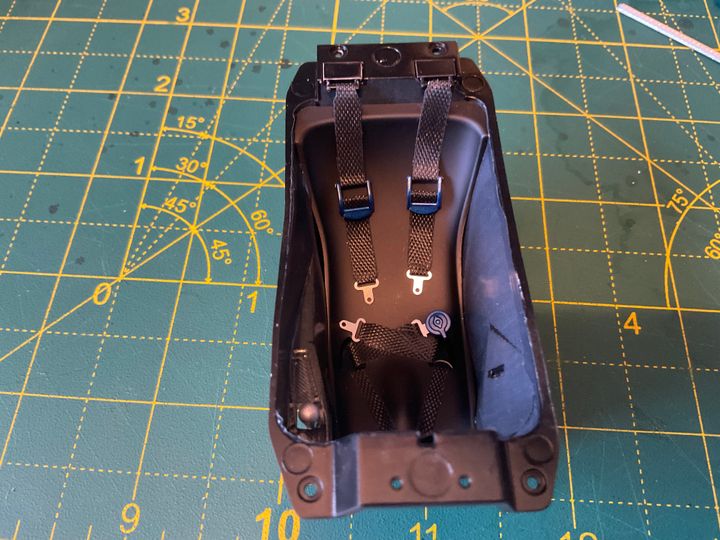
Onto the seat and harness. My recent GT40 build that uses the same type of set up provided me with valuable experience on how to put them together.
The kit provides carbon fibre decals for everything.
The next stages require plastic parts, photo etch and material harnesses.
All the carbon decals for the inside the cockpit.
First one on.
Just a case of repeating for the rest of the decals.
Onto the seat and harness. My recent GT40 build that uses the same type of set up provided me with valuable experience on how to put them together.
Stick Legs said:
Fabulous.
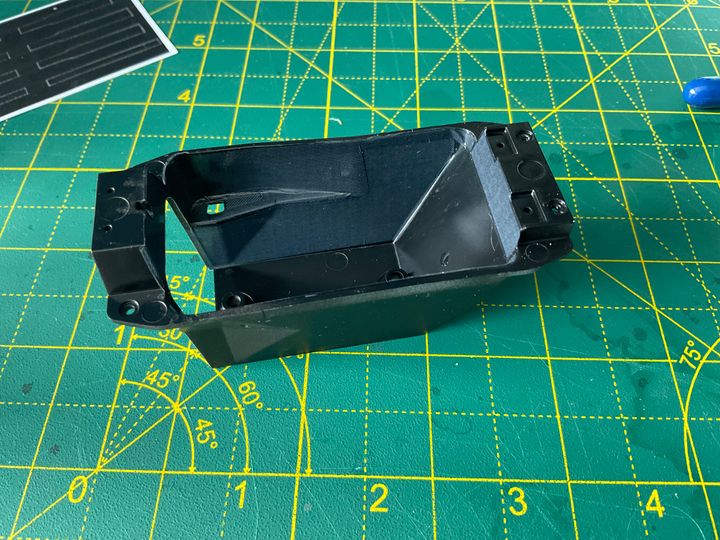
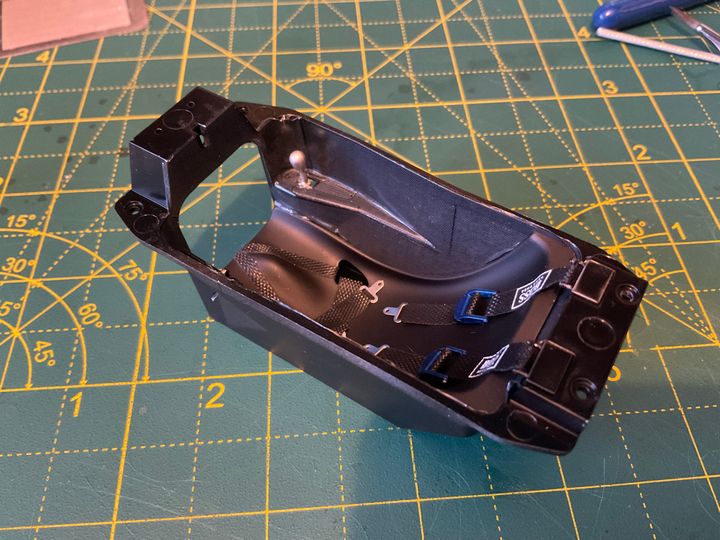
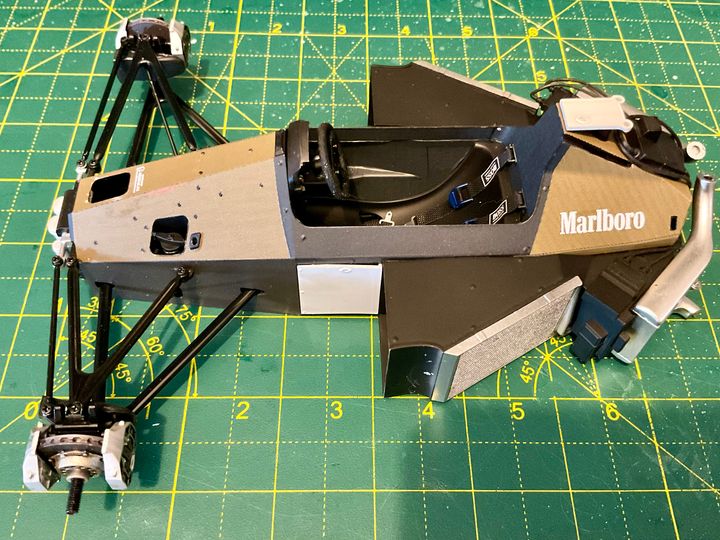
Ta very much!I have spent this morning working on the other part of the monocoque.
First pieces of decal on
This time we also have Kevlar to contend with.
It was a bit too glossy, so I gave it a coat of satin varnish.
I’ll set the to one side with the engine for final assembly later.
davettf2 said:
Superb work, will be following this build.
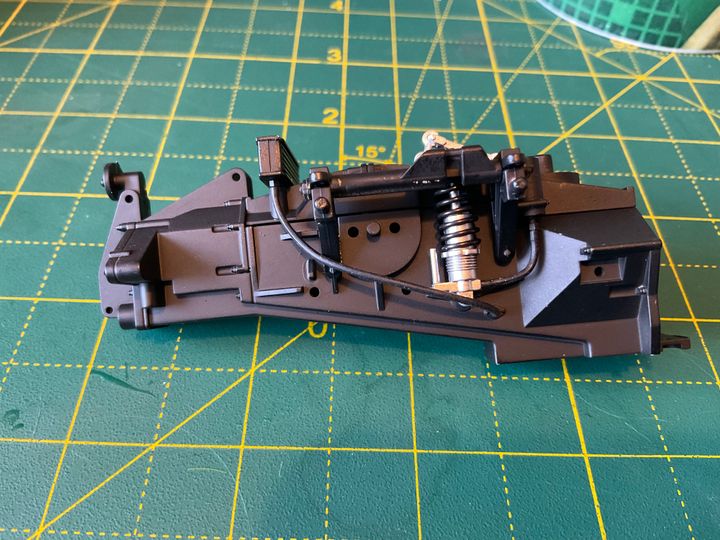
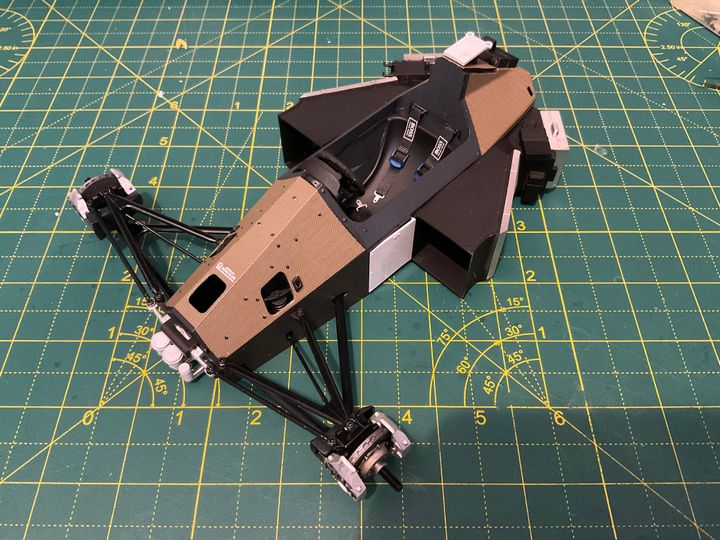
Thank you.Turns out I didn’t have to put the monocoque aside for very long.
The next stage of the build was further additions.
Were this a star wars model they would be called greeblies…
Add some paint.
Dashboard details.
Chuck it all together..
I also continued work on the body. Naturally there are a few masking errors to tidy up..
Before anyone asks it’s Tamiya rattle cans.
Pure white and fluorescent red. Not a bad match as far as I’m concerned.
sidewinder500 said:
Coming together nicely.
Excited for upcoming pictures, thanks for sharing!
Great build!
Thanks for the interest. Here are a few more pictures.Excited for upcoming pictures, thanks for sharing!
Great build!
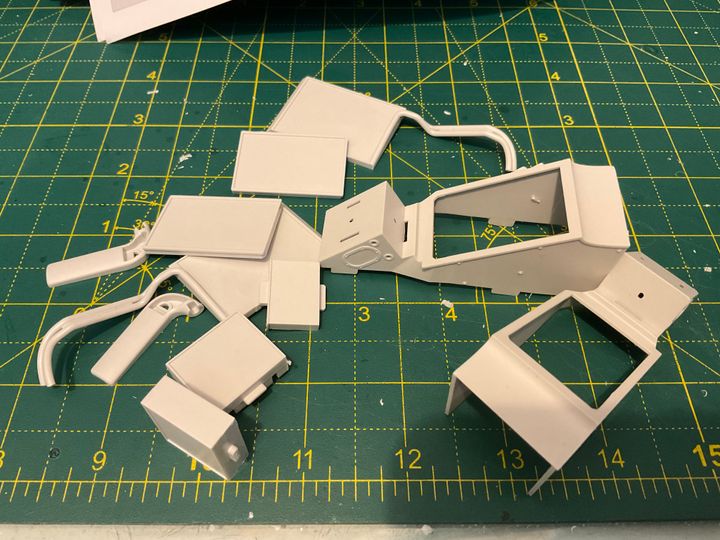
The next batch of parts to finish the tub
I wanted to add a bit of texture to the steering wheel so used some embossing powder.
Then I painted all the parts.
Then it’s assembly.
There are a couple of small bits to touch up.
Next up it’s the cooling system.
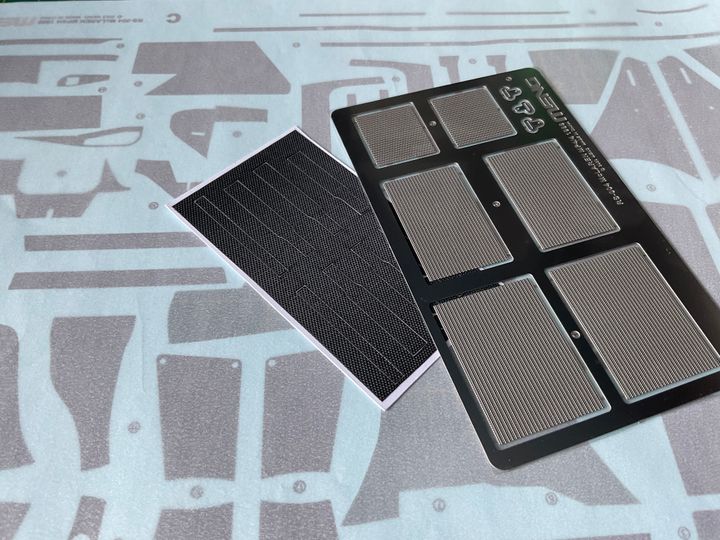
So here are most of the parts for the cooling system.
The kit includes photoetch parts for the radiators. All of the PE parts are really thick and as a result a bit trickier than normal to get off the sprue and clean up.

Paint and sub assembly
Next up is wiring for the various ECUs. The instructions provide the cut lengths , but also a 1:1 drawing to make getting the correct length more simple.
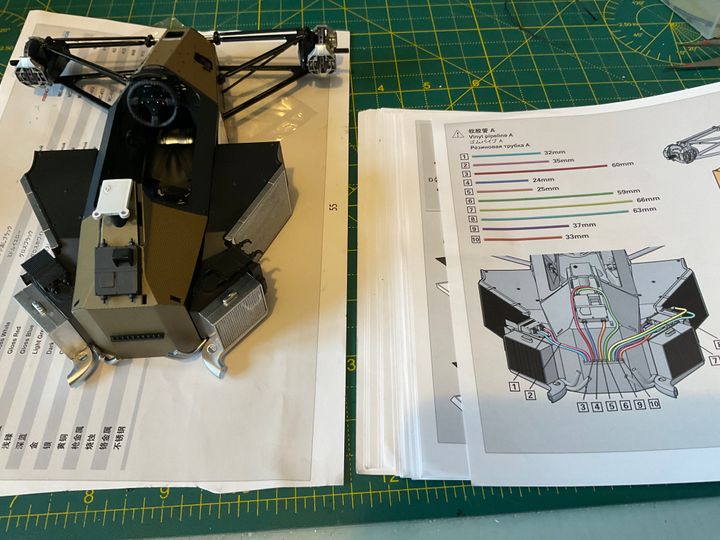
It’s just a case of cutting the tube to the correct length and pushing it onto the spigots. You start at the left and work your way to the right.

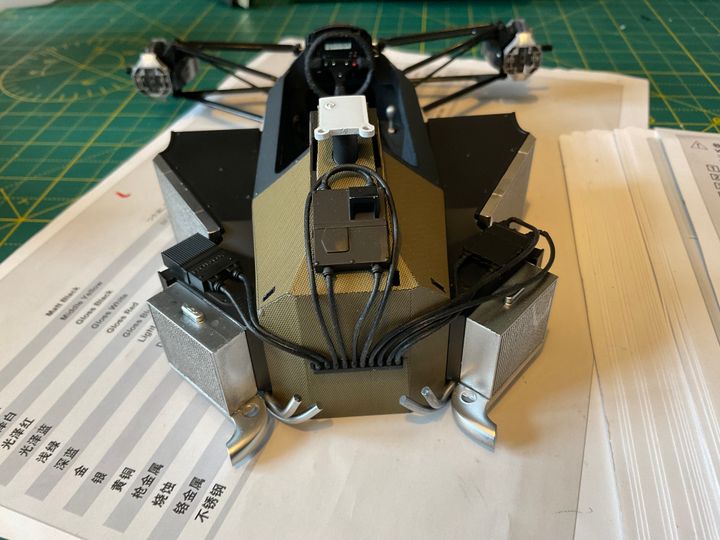
The next step is to put the top sections onto the intercooler radiators.
The kit includes photoetch parts for the radiators. All of the PE parts are really thick and as a result a bit trickier than normal to get off the sprue and clean up.
Paint and sub assembly
Next up is wiring for the various ECUs. The instructions provide the cut lengths , but also a 1:1 drawing to make getting the correct length more simple.
It’s just a case of cutting the tube to the correct length and pushing it onto the spigots. You start at the left and work your way to the right.
The next step is to put the top sections onto the intercooler radiators.
Thanks for the encouragement, although it really isn’t that small, so perhaps it’s not quite as tricky as you might think.
In fact id go as far as to say that anyone could probably make a decent attempt at this kit.
Limited progress to show today as I had to completely strip the paint on the shell due to some masking errors and that took a while..
I did finish the top part of the intercoolers and install them.
The eagle eyed will spot the tobacco sponsorship decals. They finally arrived today!
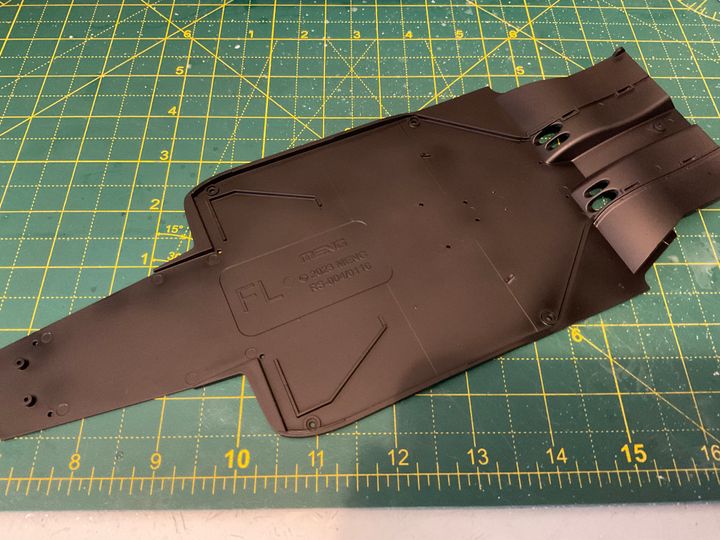
I also begun what will probably be the fairly lengthy task of the floor.there is much masking and painting to do and then carbon decals and foil stickers too. Should be an interesting couple of days.
In fact id go as far as to say that anyone could probably make a decent attempt at this kit.
Limited progress to show today as I had to completely strip the paint on the shell due to some masking errors and that took a while..
I did finish the top part of the intercoolers and install them.
The eagle eyed will spot the tobacco sponsorship decals. They finally arrived today!
I also begun what will probably be the fairly lengthy task of the floor.there is much masking and painting to do and then carbon decals and foil stickers too. Should be an interesting couple of days.
Gassing Station | Scale Models | Top of Page | What's New | My Stuff